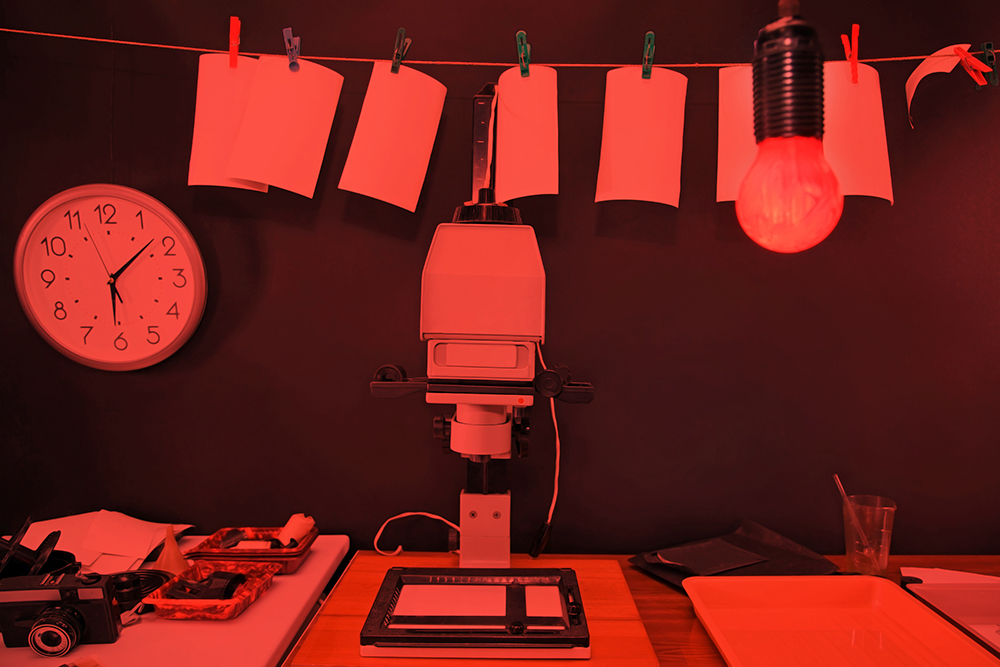
In the era of digital photography, many photographers have stopped using darkrooms to develop their photographs. But developing your photos the traditional way can give them a distinct look that will set them apart from all the rest. If you have a spare room in your home that is well-ventilated, you can easily build your own darkroom with just a little bit of effort.
Any small room will work but the most important thing is that the room has good ventilation. The chemicals you will be using to develop your photos can bad for your health if inhaled. If you will be spending a lot of time in this space, a strong fan is a wise investment. If possible, the room should also have running water.
After you’ve chosen the room, you will need to block out all of the light. Use dark fabric or cardboard to cover the windows and secure the edges with tape. Fabric will work best for covering the door but keep in mind while you are taping that you’ll need to be able to go in and out fairly easily. Even a small amount of light can ruin a great photo. Once you think you’ve blocked out all the light, turn the light off to make sure there aren’t any tiny holes where light is creeping in.
Before you begin setting up, you will need to designate one side of the room for your equipment. This will be the “dry side” and the “wet side” is where you will develop your photos. On the “dry side”, you will need a desk or other flat surface to work on. You’ll also need a drawer or container to keep your photo paper completely safe from the light. On the “dry side” of the room, you will also need an enlarger, an easel, a grain magnifier, a timer, a film tank, and reels.
On the “wet side” of the room, you will need a red safelight so that you can see while you’re working without damaging your photos, as well as film clips, a funnel, several sets of tongs that are clearly labeled, several trays for your solutions and a water tray. You will also need latex gloves and a face mask to protect yourself from the dangerous chemicals you’ll be using.
In order to develop your photos, you’ll need a developer, fixer, and a stop bath. You can create your own stop bath with pickling vinegar or acetic acid. You should be able to find the rest of the items you will need online or at your local photography store. Some companies sell kits with most of the items you will need already included.
Purchasing new equipment can be costly but it is worth it when you consider how great your photos will look. It is possible to save quite a bit of money on equipment by purchasing used items on Craigslist, garage sales, eBay, etc. If you aren’t sure how to tell if the equipment is any good, it’s probably better to invest in new equipment.
Developing photos the old-fashioned way is lots of fun and will make your photos look even better than they already do. And, as you can see, the idea of setting up your own darkroom is more intimidating than actually doing it. So go ahead and make a darkroom of your very own. You’ll be surprised what develops!


